Last updated November 18, 2026







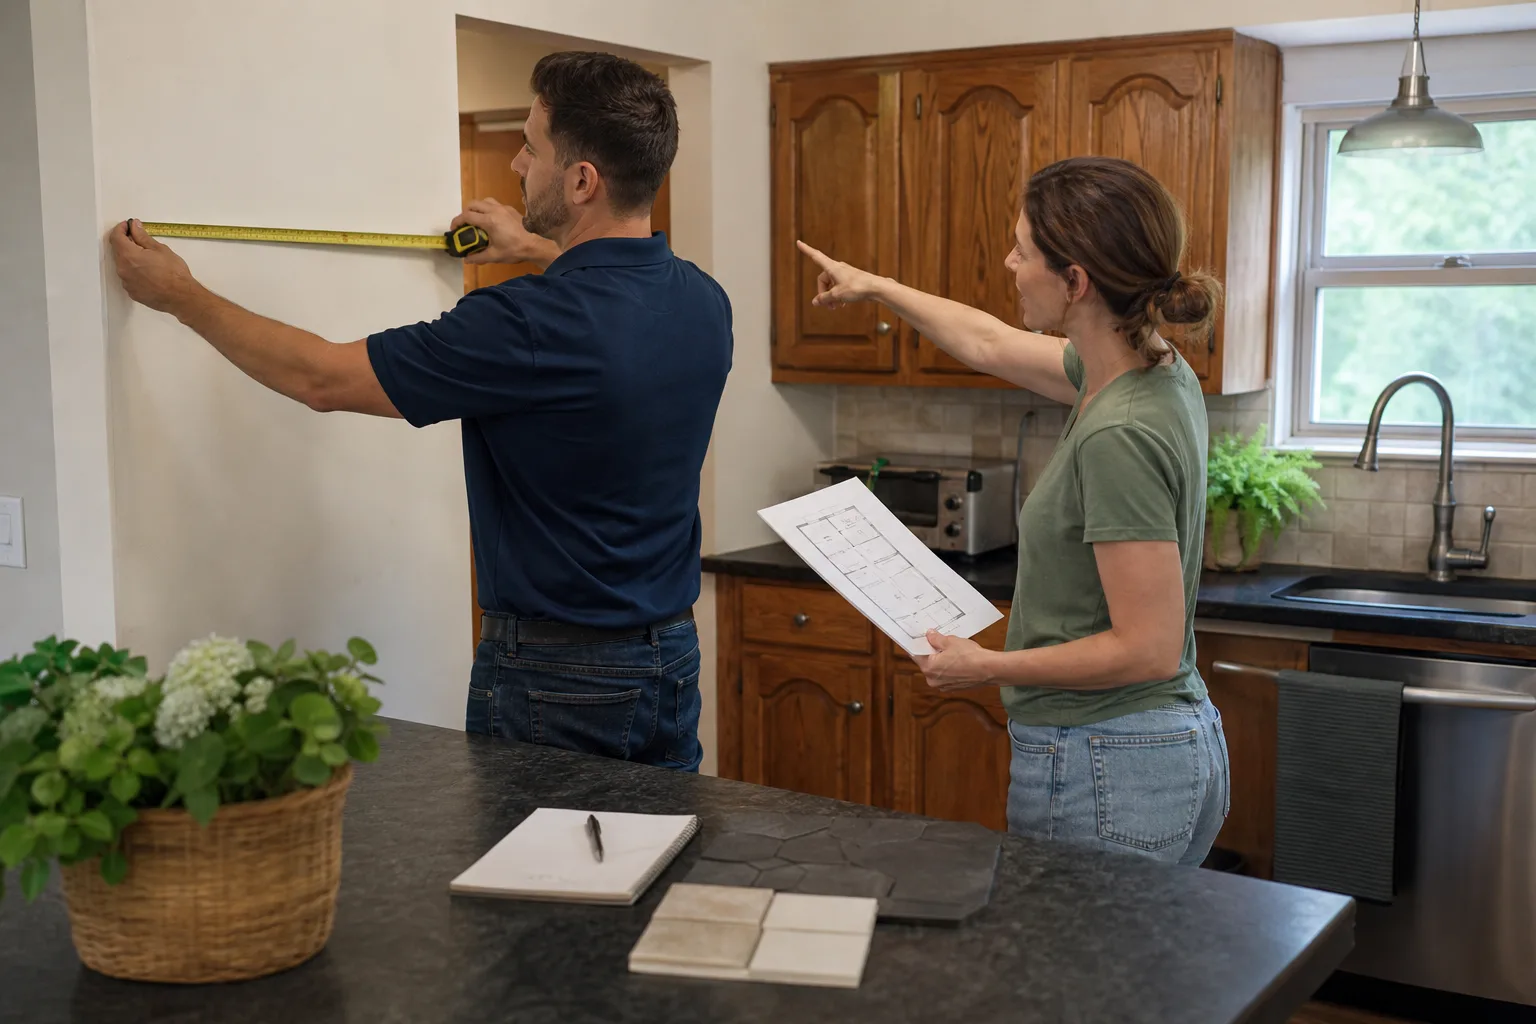
Free written scope consultation - allowances, timeline, and change-order rules on paper before a single trade is scheduled
Kitchen Remodeling Troubleshooting: Common Problems and How to Fix Them
The most expensive kitchen remodel mistake isn’t a blown budget. It’s accepting a cabinet installation that’s out of level before the countertops are templated. Once the counters are cut and set, fixing those cabinets means pulling the countertops off and paying for the same work twice. In our experience across Winchester, the problems that wreck a kitchen job cluster around four failure points: cabinet installation, countertop templating, plumbing rough-in, and final appliance connection. Every one of them has a specific cause, a specific party who owns the fix, and a specific remedy your contract should spell out. This guide walks you through diagnosing which failure you’re looking at and what you’re owed when it happens.
Quick Answer
Kitchen remodel problems usually trace back to installation tolerances, not bad materials. If cabinets are out of level before templating, if plumbing rough-in is placed wrong before drywall closes, or if a countertop seam lands somewhere you didn’t approve, you have a documented deficiency the contractor is obligated to correct. The fix depends on catching it at the right phase, putting it in writing, and knowing what your contract and the 365-Day Done Right Promise actually cover.
Styles & brands we work with
- Kitchen remodeling
- Bathroom remodeling
- Home additions & ADU
- Roofing
- Windows & doors
- Driveway & pavers
- Fence
Table of Contents
- How to Inspect Cabinet Installation Before Templating
- Scribe Molding and Filler Strips: When They’re Fine and When They’re a Cover-Up
- Plumbing Rough-In Problems You Must Catch Before Drywall
- The Countertop Template: What to Verify Before You Sign Off
- Final Appliance Connection Failures
- How to Document a Deficiency in Writing
- When to Escalate and When to Handle It Contractually
How to Inspect Cabinet Installation Before Templating
The single most valuable check in a kitchen remodel happens in the window between cabinet installation and countertop templating. Get this wrong and every phase after it inherits the error. In Winchester, where temperature swings between summer heat and dry winter air shift wood more than coastal climates do, cabinets that look fine on install day can telegraph flaws by the time the template crew arrives.
Here’s the sequence we walk homeowners through before they sign off on the cabinet phase:
- Check level across the entire run, not just one cabinet. A 4-foot level laid corner to corner tells you if the boxes are true. Run a string line across the full cabinet line if the run is longer than 8 feet.
- Measure the floor-to-cabinet gap and the counter-height line. Standard finished counter height sits around 36 inches. If your baseline is off by a quarter inch at one end, the countertop fabricator will be cutting to a crooked plane.
- Confirm plumb on the face frame. A cabinet can be level and still lean. The face frame should read plumb within roughly 1/8 inch over the height of the box.
- Look for consistent reveals between doors and drawers. Uneven gaps tell you the boxes aren’t aligned, whether or not the installer calls it “normal adjustment.”
- Test that every door and drawer operates smoothly before counters go on. Binding at this stage means the box shifted.
If the cabinets aren’t square and level, the countertop template will encode that flaw into a piece of stone that can’t be un-cut. The remedy is to correct the cabinets before templating, at the contractor’s cost if the deficiency is theirs. That’s the same discipline behind Kitchen Remodeling in Winchester, where the sequence is fixed and the sign-offs are written.
Scribe Molding and Filler Strips: When They’re Fine and When They’re a Cover-Up
Scribe molding and filler strips are legitimate parts of cabinet installation. A scribe molding is a narrow trim piece shaped to follow the contour of a wall so the cabinet meets it without a visible gap. A filler strip is a flat piece that bridges the space between a cabinet and a wall or appliance. Both exist because walls are rarely perfectly straight and kitchens aren’t built to a single perfect dimension. Their presence isn’t a red flag by itself.
The question is whether the trim is doing honest work or hiding sloppy work. Here’s how to tell the difference:
- Acceptable: A 3/4-inch filler strip against a wall that’s out of square, because the drywall genuinely wasn’t plumb. That’s the strip doing its job.
- Cover-up: A 2-inch scribe piece running the full height of a cabinet to hide a gap that shouldn’t be there. That’s a fit problem dressed as finish work.
- Acceptable: Scribe molding along the ceiling where the cabinet tops meet, because ceilings sag and cabinets don’t.
- Cover-up: Filler strips used to disguise cabinets that were set too far from the wall.
Ask the installer to show you the measurements behind any filler wider than an inch. A straight answer, with numbers, is what you’re owed. If the explanation doesn’t hold up, get it written into the deficiency list before the counters go on. The reference guide on what “squared away” looks like at close from the Bradford Remodeling Co Winchester home page explains the standard we hold ourselves to.
Plumbing Rough-In Problems You Must Catch Before Drywall
Plumbing rough-in is the phase where the pipes go in before the walls close. Once drywall is up and cabinets are set, correcting a rough-in error means cutting into finished work. In Winchester, we’ve seen this phase fail in predictable ways.
- Drain slope too shallow or too steep. The drain line from the sink to the stack has to fall at roughly 1/4 inch per foot. Too shallow and it clogs; too steep and water runs faster than the waste and leaves solids behind. Ask to see the slope checked with a level before the wall closes.
- Supply line placement off the cabinet. Hot and cold lines should land where the cabinet’s back panel and the faucet tailpiece will connect. If they’re off by inches, the plumber has to cut into the back of a brand-new cabinet to make the connection.
- Dishwasher loop missing or wrong. A dishwasher drain line needs a high loop above the sink drain to prevent backflow. If it wasn’t run, you’ll smell it later and it’s a code issue.
- No access panel for the shutoffs. You need to be able to reach the sink shutoffs without pulling the cabinet. Confirm the rough-in includes access.
This is a safety item, too. Plumbing rough-in and gas line work for a range belong to a licensed tradesperson, not a general crew improvising. If you can’t confirm the rough-in was inspected before drywall goes up, that’s the moment to stop the job, not after cabinets are hung. Our General Contractor in Winchester team insists on rough-in inspections before the wall closes for exactly this reason.
The Countertop Template: What to Verify Before You Sign Off
The template is a physical or digital outline of your countertop that the fabricator uses to cut the stone. It’s created after cabinets are installed, and it’s your last chance to catch a layout problem before it becomes a piece of Cambria or Caesarstone that can’t be re-cut. Sign off carelessly and you own the result.
Before you approve the template, verify these items:
- Seam placement. Every seam should fall in a location both you and the fabricator agreed on, ideally away from the sink and high-traffic prep zones. If a seam is planned where you didn’t expect it, raise it now.
- Overhang. Standard counter overhang at the cabinet face is around 1 to 1 1/2 inches. Confirm the drawing shows the overhang you want, especially at any seating area where a 12-inch overhang is typical.
- Cutouts. The sink and cooktop cutouts should match the appliance specs you approved. Every sink has a rough-in sheet; the template should reflect it.
- Edge profile and thickness. Confirm the edge profile and stone thickness match what you signed off on in the contract.
If the seam placement or overhang isn’t what you approved, you have recourse. That’s a scope problem, not a cosmetic preference, and the fabricator or contractor is on the hook to redo the drawing before cutting. Get it right on paper first.
Final Appliance Connection Failures
The last phase is where small errors surface after everything looks finished. Final appliance connection failures are some of the most common callbacks, and most are preventable.
- Dishwasher won’t drain. Usually a missing high loop or a kinked drain hose behind the cabinet.
- Range hood runs but vents nothing. A duct connection that wasn’t secured at the rough-in, or a damper stuck closed.
- Refrigerator doesn’t fit the opening. Cabinet opening measured before the door handles and hinges were accounted for. Confirm the “cutout” dimension from the manufacturer’s spec, not the appliance’s overall width.
- Ice maker line leaking. A saddle valve or connection that was never pressure-tested.
- Gas range not lit properly. A gas connection that wasn’t leak-tested by a licensed technician. This is a safety item; don’t accept a verbal “it’s fine.”
The remedy is a documented punch list. Anything on it gets corrected before final payment. That’s what the closing walk-through is for, and it’s how the Bathroom Remodeling in Winchester team handles closeouts on their jobs too, with the same written standard.
How to Document a Deficiency in Writing
A verbal complaint is worth roughly nothing in a contract dispute. The moment you identify a deficiency, get it in writing. Here’s what a proper deficiency notice contains:
- Date and location. When and where the problem was identified. Be specific: “kitchen, west cabinet run, upper wall cabinets.”
- Description of the deficiency. State it in plain terms with measurements where possible: “Cabinet run is out of level by 3/8 inch at the south end.”
- Reference to the contract. Cite the scope line or specification the work failed to meet.
- Requested correction and deadline. Ask for the fix in writing, with a reasonable date.
- Notice of intent. State that if the deficiency isn’t corrected by the deadline, you’ll pursue formal remedies under the contract.
Send it by email or certified mail so you have a record. A deficiency notice is not a threat; it’s a documented handoff. Many contractors will fix it immediately once they see it in writing because the paper trail cuts both ways.
When to Escalate and When to Handle It Contractually
Most deficiencies get resolved when they’re documented and handed to the contractor in writing. Escalation is for the ones that don’t. Here’s the rough order:
- First, the contractor’s written guarantee. If your project falls inside the guarantee window, the fix is the contractor’s responsibility at no charge. The 365-Day Done Right Promise we carry is a full-year written guarantee: if the work fails inside that window, we come back and correct it. Ask any contractor you hire for the exact terms in writing.
- Second, the contract’s dispute clause. If there’s a specified mediation or arbitration process, follow it before you go anywhere else.
- Third, the state licensing board. In Nevada, contractor complaints and licensing matters run through the Nevada State Contractors Board, which handles license verification, complaints, and disciplinary action. That’s the escalation route, not the first call.
- Fourth, civil action. Reserved for genuine breach, not poor communication.
What you shouldn’t do is pay the final invoice on a job with open deficiencies. Tie final payment to a signed punch list. That’s the simplest lever you have, and it’s yours by right.
Common Mistakes to Avoid
- Signing off on cabinets before checking level. A quick two-minute level check at the cabinet phase saves you the cost of pulling counters later.
- Closing the drywall before the rough-in inspection. In Winchester, plumbing and gas rough-in needs to be inspected before the wall closes. Skipping it hides every problem behind finished work.
- Approving a countertop template by phone. Seam placement and overhang need eyes on the drawing. Insist on seeing it, even if it’s a photo.
- Accepting a wide filler strip without asking why. A 2-inch filler where you expected a clean wall is a fitting problem, not a design feature.
- Paying final invoice with deficiencies open. Once the money clears, the motivation to fix it goes with it.
- Relying on verbal promises. Every correction and every guarantee should be in writing before any work is done. That’s the Garrison Standard we hold ourselves to, and it should be your baseline for every bid you take.
See the difference
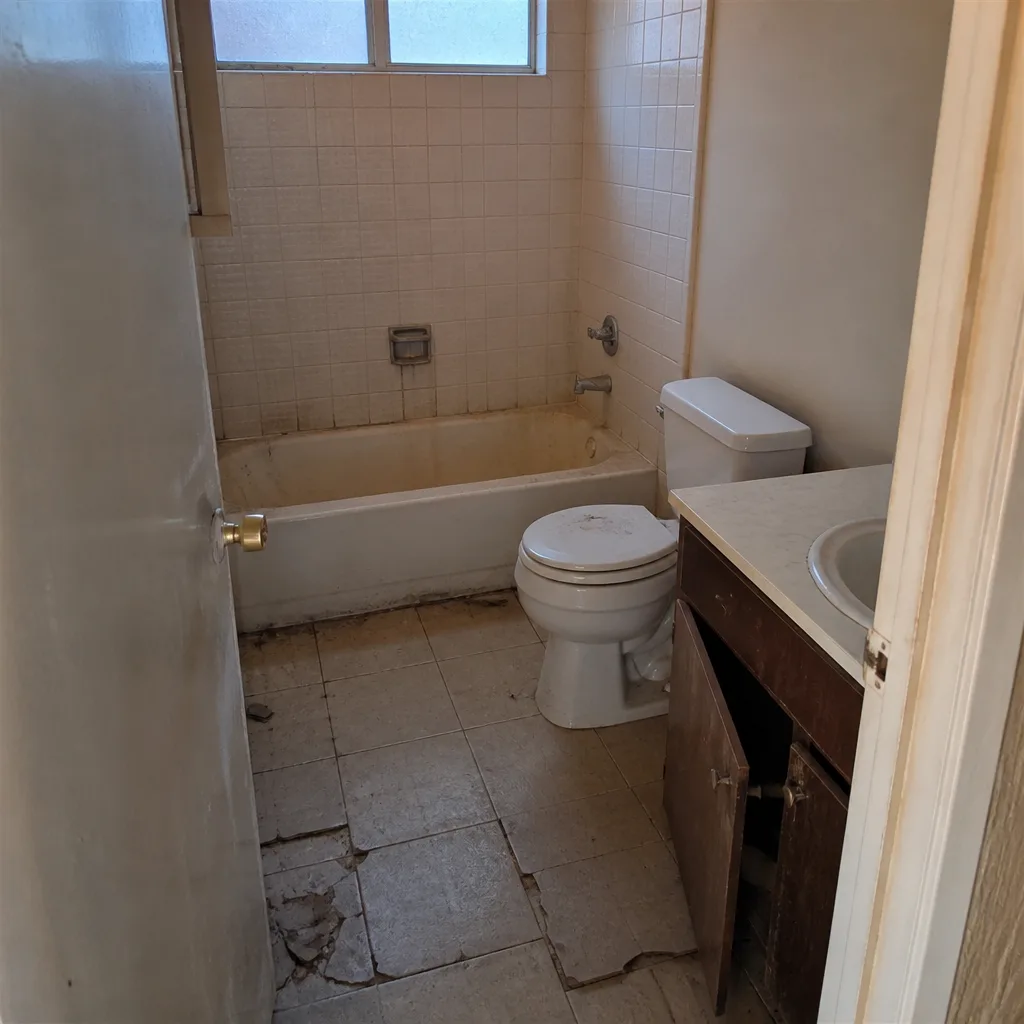 Before
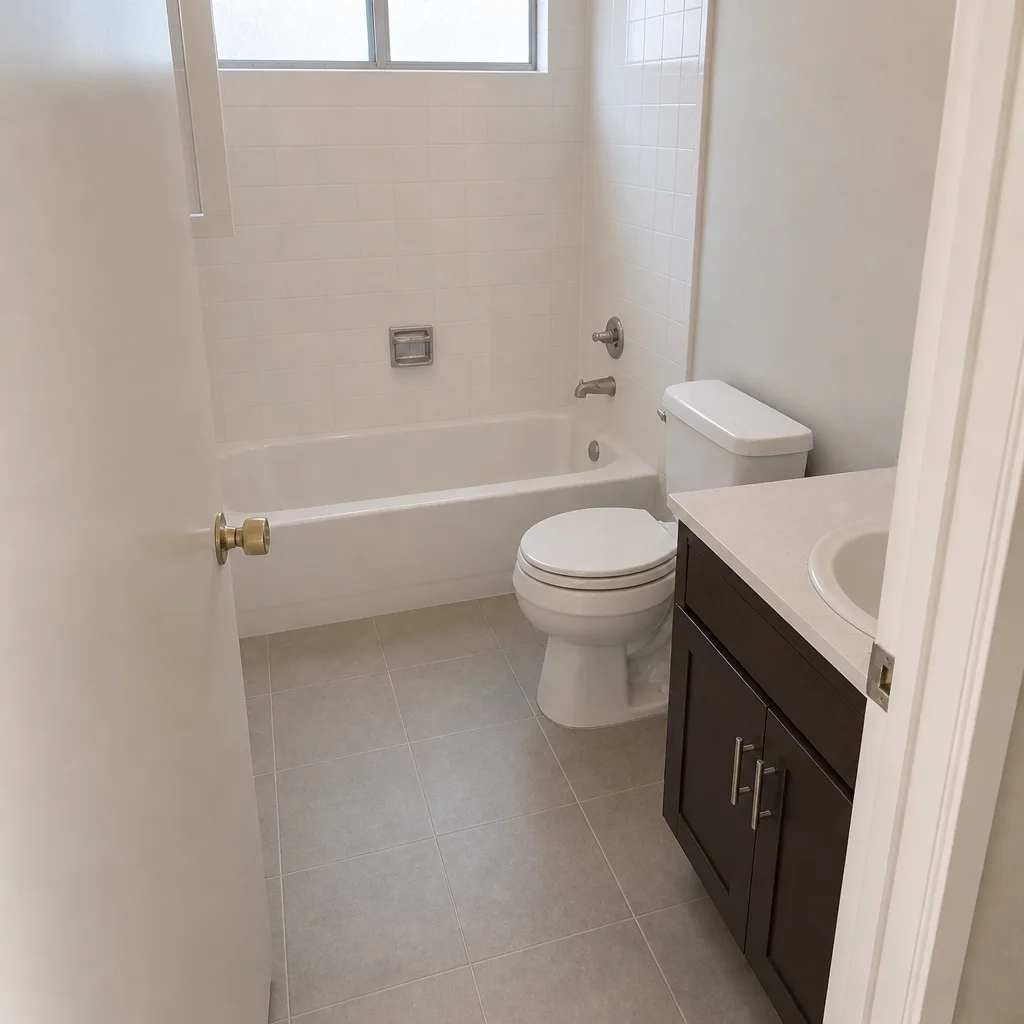 After
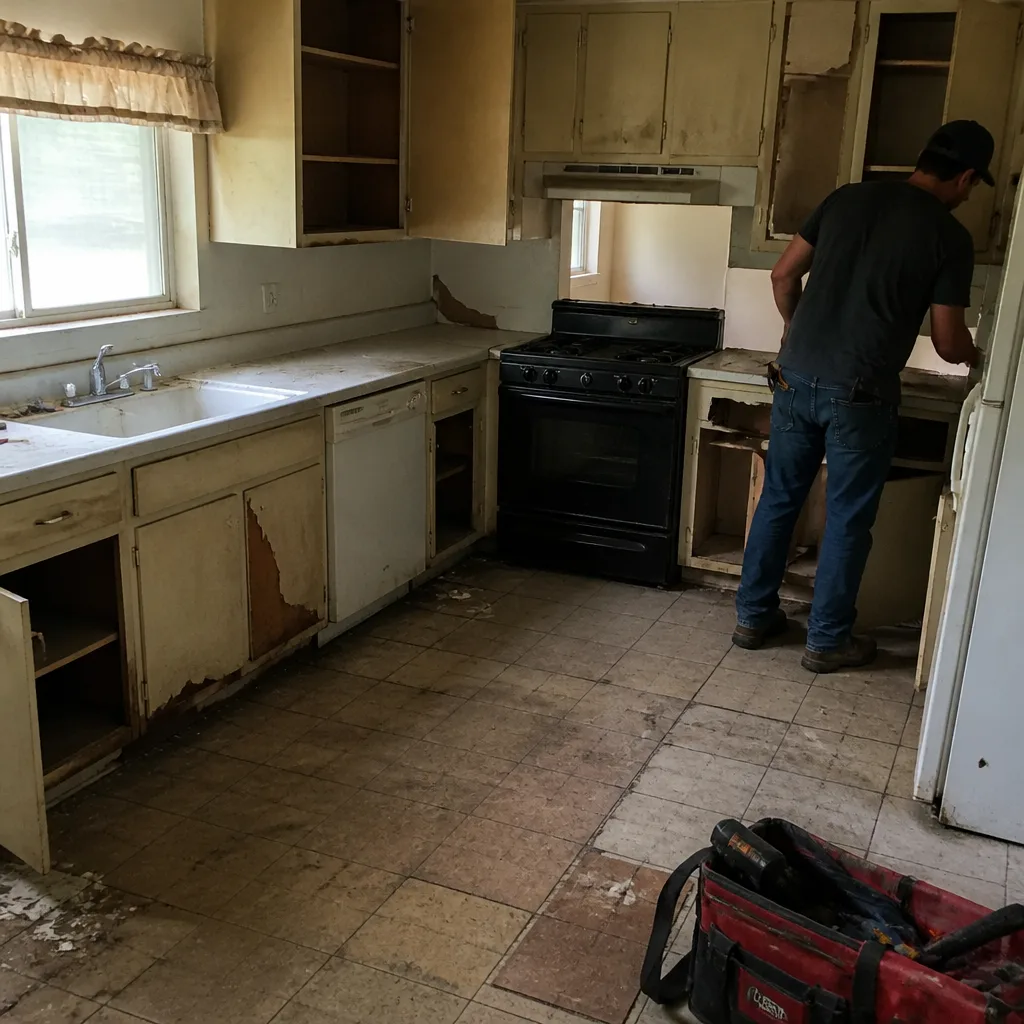 Before
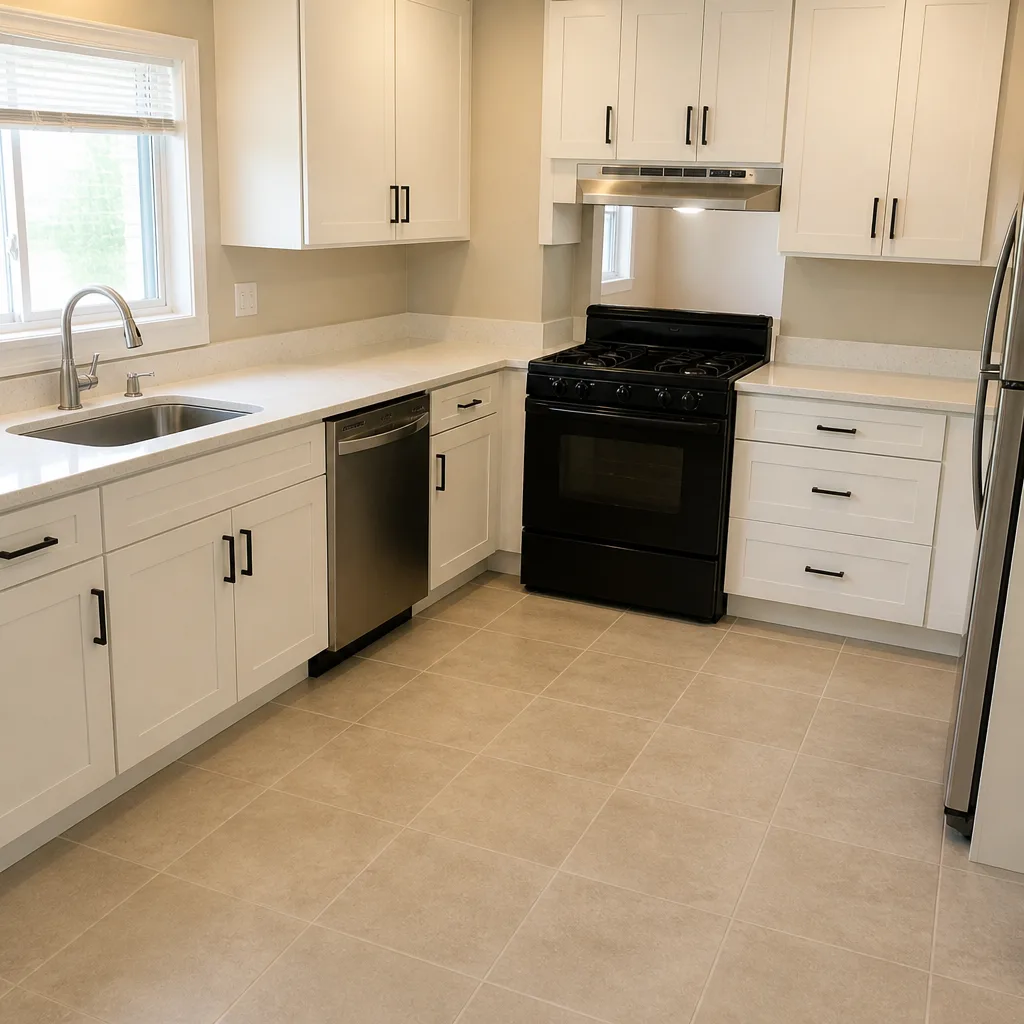 After
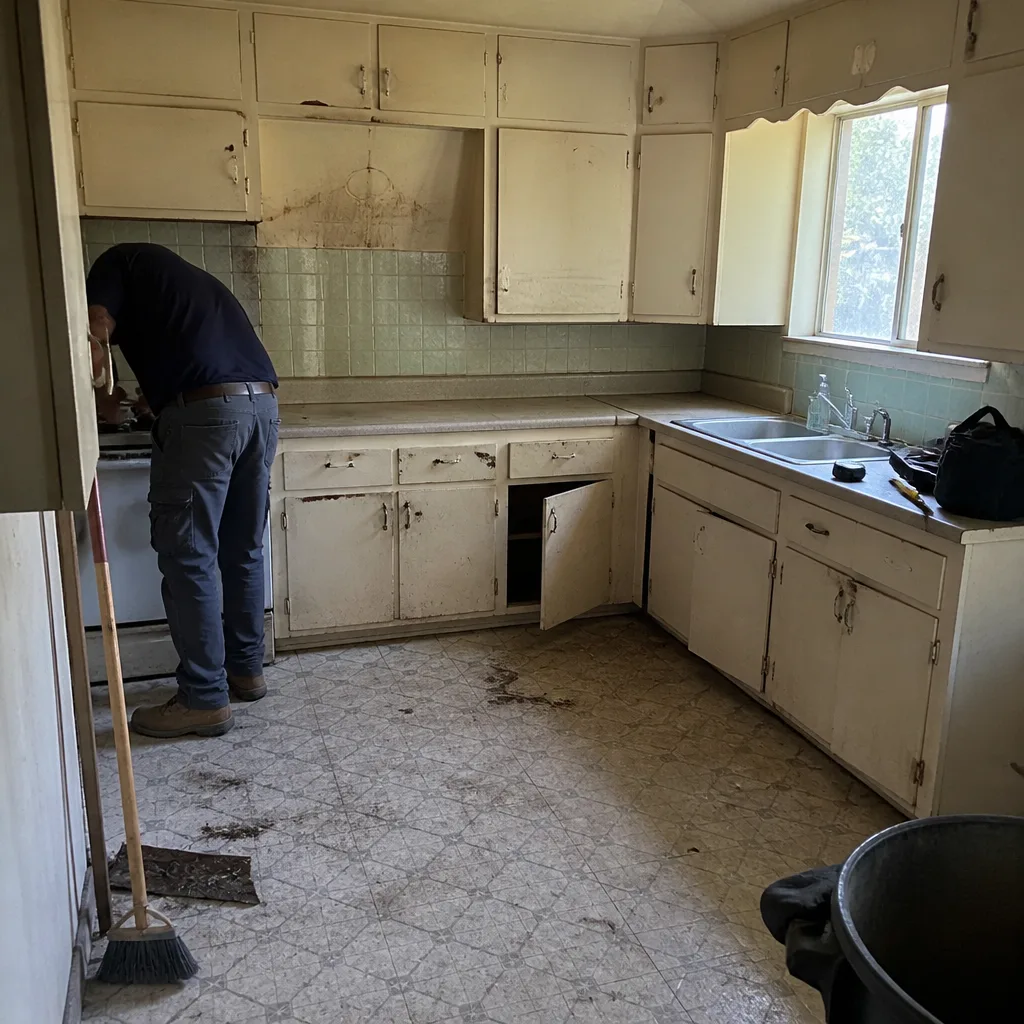 Before
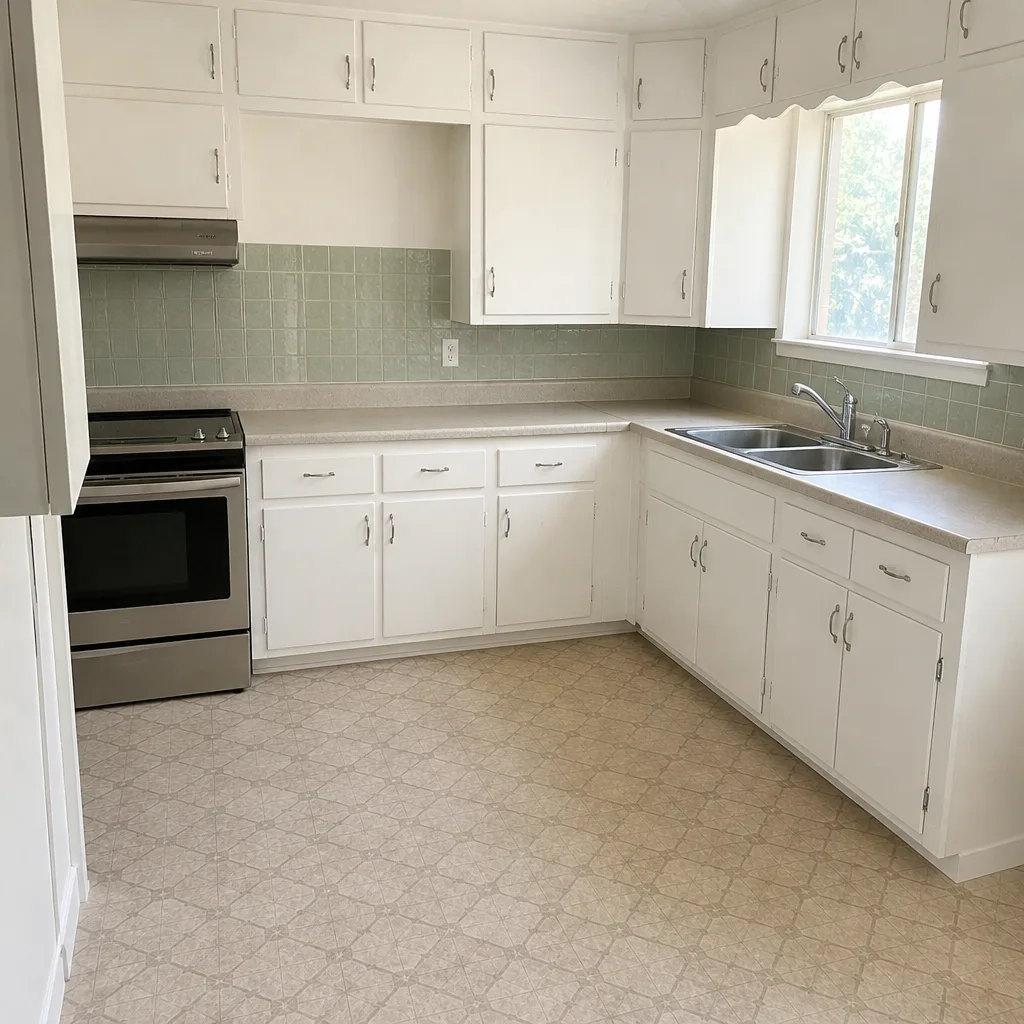 After
When to Call a Professional
Most kitchen remodel phases involve one of four trades working under a coordinating contractor. Some failures are safe to fix yourself. Cabinet leveling, filler strip replacement, and painting trim are homeowner territory. But if the problem involves plumbing rough-in, gas connections, or a countertop that’s already been cut wrong, you need a licensed professional. The same applies if a cabinet run is out of level and the countertop has already been templated. That’s a job with a sequence problem that needs a contractor to correct, not a weekend fix. Bradford Remodeling Co Winchester offers free estimates in Winchester, and every price is written before any work begins. Call (844) 972-4839.
Frequently Asked Questions

Cabinet installation out of level before countertop templating. It’s the most common because the error gets hidden under the counters and the fix later means pulling finished work. Check level, plumb, and reveals before the template crew arrives.
Corrective work depends on how much of the job has to come apart. If it’s caught before templating, the fix usually sits in the low hundreds of dollars for a single run. If counters are already set, expect to pay for the countertop removal and reinstallation on top of the cabinet correction. That’s why every written price should spell out what happens if the work fails; the 365-Day Done Right Promise covers that correction at no charge.
Scribe molding is a trim piece fitted to follow the contour of a wall or ceiling. It’s a legitimate finish item, and its presence is normal. You should ask questions if it’s wider than an inch or running the full height of a cabinet, because that size usually means a fit problem is being hidden.
It shouldn’t, and with Bradford it won’t. Every price is written before a single tool comes out, with no numbers that move at the door. Ask any contractor to put their price in writing and walk you through what’s included. That’s the baseline we hold ourselves to under the Garrison Standard.
Yes, and you should. Ask for the drain slope and supply line placement to be photographed and inspected before the wall closes. If the job is permitted, an inspection at this phase is part of the process. Once drywall is up, every correction means cutting into finished work.
The party who approved the template is responsible, and if your contractor walked you through an approval, they’re on the hook. Insist on seeing the seam placement and overhang before you sign off. If the cut piece doesn’t match what you approved, that’s a scope deficiency, not a preference.
The Bottom Line
Kitchen remodel problems are almost always the same four failure points: cabinets, countertops, plumbing, and appliances. Each has a specific spot in the sequence where it gets caught, and a specific cost if it doesn’t. The homeowner’s job isn’t to inspect the trades; it’s to know what to ask for at each phase, get every price and every correction in writing, and refuse to pay final invoice until the punch list is closed. That’s what a squared-away job looks like at close: clean site, documented scope, and a signed written guarantee in your hand. Bradford Remodeling Co Winchester gives you all three, backed by a full-year 365-Day Done Right Promise that corrects any failed work at no charge. Our technicians have up to 22 years of experience, and every project is held to The Garrison Standard. Call (844) 972-4839 to schedule your free estimate.
Written by the team at Bradford Remodeling Co Winchester.