Last updated November 18, 2026








Free written scope consultation - allowances, timeline, and change-order rules on paper before a single trade is scheduled
Home Remodeling Maintenance Schedule: What to Do and When
Most maintenance guides tell you to caulk annually. They don’t tell you that caulk around a newly tiled shower needs inspection at 90 days, not 12 months – and that missing that window is how a $400 grout issue becomes a $4,000 subfloor replacement. A remodel doesn’t just change how a room looks. It disturbs systems that took years to settle: framing, substrates, caulk lines, floor expansion gaps, HVAC pathways. Those systems go through a break-in period, and the first year after construction is when small neglect does the most expensive damage. This guide is the post-remodel owner’s checklist for Winchester, built around what actually fails here and when to check it.
Quick Answer
A post-remodel maintenance schedule starts with 90-day, 6-month, and 12-month inspections of every system the project touched – caulk joints, floor expansion gaps, HVAC filters, paint cure, and grout – then shifts to a seasonal routine after year one. In Winchester, the Mojave heat swings make those first-year checks more important than national guides suggest, because caulk and wood trim move faster here than in mild climates.
Styles & brands we work with
- Kitchen remodeling
- Bathroom remodeling
- Home additions & ADU
- Roofing
- Windows & doors
- Driveway & pavers
- Fence
Table of Contents
- Why a Remodel Needs Its Own Maintenance Schedule
- Newly Remodeled Systems vs. Legacy Systems: Two Timelines
- The First 90 Days: Break-In Inspections That Matter
- The 6-Month and 12-Month Checks
- The Systems a Remodel Disturbs Most
- How Winchester’s Desert Climate Changes the Schedule
- What Voids a Workmanship Guarantee (and How to Protect Yours)
- Your Two-Page Maintenance Log Template
Why a Remodel Needs Its Own Maintenance Schedule
New construction moves. Not because something is wrong – because materials are reacting to their first real exposure to a home’s humidity, temperature swings, and daily use. Fresh drywall shrinks slightly as it cures. Wood trim expands and contracts with the seasons. Grout and caulk cure at different rates. Flooring acclimates to the room it’s installed in. All of that settling happens in the first 6 to 12 months, which is exactly the window when a homeowner is least likely to look closely.
That’s the gap a maintenance schedule closes. The purpose isn’t cosmetic upkeep. It’s catching movement while it’s still a bead of caulk and before it becomes water behind a tile. In our experience across Winchester remodels, the projects that fail early are almost never the ones with a bad install. They’re the ones where nobody looked at the shower corners at month three.
Here’s the practical reason to treat this seriously: a written workmanship guarantee covers defects in the work, not damage caused by neglected maintenance. A failed caulk joint that lets water into a wall for eight months is a maintenance problem, and it sits outside most guarantee language. Get the inspections on the calendar and document them. That single habit is the difference between a covered repair and an out-of-pocket one.
Newly Remodeled Systems vs. Legacy Systems: Two Timelines
The biggest mistake homeowners make is applying one schedule to the whole house. A kitchen that was just rebuilt and a bathroom that hasn’t been touched since the 1990s are on completely different clocks. Sorting your home into these two categories is step one.
Newly remodeled systems need frequent touch checks in year one – roughly every 90 days – then settle into a seasonal rhythm. These are the caulk joints, grout lines, expansion gaps, paint, and HVAC pathways the project touched. The first 12 months are about verifying the work is holding as designed.
Legacy systems – untouched plumbing fixtures, older exterior paint, original windows, aged flooring – need their own inspection cycle tied to age and condition. If a bathroom in a mid-century Winchester home hasn’t been updated, its supply lines and shutoff valves deserve an annual look regardless of what else was remodeled.
Split your log into two columns:
- Remodeled (year one): 90-day, 6-month, and 12-month inspections on all new caulk, grout, flooring gaps, paint, and filter loads.
- Remodeled (year two and beyond): spring and fall seasonal checks.
- Legacy systems: annual inspection, plus an immediate look any time you see a new stain, a sticking door, or a soft spot.
Separating the two keeps you from spending inspection time on systems that don’t need it – and from ignoring the ones that do.
The First 90 Days: Break-In Inspections That Matter
The 90-day mark is the most underrated checkpoint on this entire schedule. It’s early enough that fresh sealant is still pliable and small gaps can be corrected cheaply, and late enough that any initial settling has already happened. Skipping it is how a $400 grout issue becomes a $4,000 subfloor replacement.
Run this numbered inspection at 90 days after any remodel:
- Caulk joints, every one. Shower corners, tub surrounds, backsplash edges, sink rims. Press each bead – if it’s cracked, pulling away, or feels loose, it needs replacing now. Do the same around any new fixture, whether that’s a Moen or Delta shower valve trim or a new Blanco sink rim.
- Grout lines. Look for hairline cracks and any spot that has gone darker than its neighbors – dark grout is often moisture underneath.
- Flooring expansion gaps. On wood or laminate, check the perimeter gaps under trim and at doorways. Fresh flooring needs room to move; if boards are buckling or squeaking, the gap may be too tight.
- Drywall and paint. Hairline cracks at seams and corners are normal settling. Note where they appear; if they widen by month six, that’s worth a call.
- HVAC filter. If drywall work happened, replace the filter at 30 days and again at 90. Drywall dust loads a filter fast and strains the system.
- Doors and windows. Check that new Therma-Tru doors still latch cleanly and windows open without binding. Seasonal movement may need a strike-plate adjustment.
- Cabinet hardware and drawers. On new KraftMaid or Wellborn cabinetry, tighten any loose pulls and check soft-close hinges for proper alignment.
Log every item you checked and any correction made. That record matters if a guarantee question comes up later.
The 6-Month and 12-Month Checks
After the 90-day pass, the schedule spaces out. The 6-month check catches the slower settling that happens through a full heating and cooling swing. The 12-month check is the final break-in verification before the project moves into its long-term seasonal rhythm.
At 6 months, focus on:
- Re-inspect all caulk and grout for any movement since the 90-day pass.
- Check paint at high-traffic corners and behind doors for curing issues or scuffs.
- Inspect the exterior of any new door or window – weatherstripping, thresholds, and seals.
- Replace the HVAC filter again if the system runs hard through summer.
- Test all plumbing shutoffs under new sinks; confirm no weeping at the supply connections.
At 12 months, add:
- A full interior caulk and grout review, spot-repairing anything that’s cracked.
- A look at flooring seams and expansion gaps after a full year of seasonal movement.
- An exterior check of any James Hardie siding or trim, looking for caulk failures at joints.
- A review of your entire log to spot patterns – a joint that keeps cracking may need a different fix than more caulk.
This is also the natural point to shift a newly remodeled room onto the seasonal cycle. The break-in period is over; now it’s maintenance.
The Systems a Remodel Disturbs Most
General contracting work touches far more than the room being rebuilt. Some systems get disturbed as a side effect, and those are the ones most likely to develop issues nobody connects to the project. Knowing them keeps you ahead of problems.
Caulk joints. Every new joint is a place water and air can enter. This is the number-one system to watch, because failures are cheap to fix early and expensive to fix late.
Flooring expansion gaps. New flooring needs a perimeter gap to move. If trim or cabinetry pinches it, you get buckling, squeaks, and lifted seams.
HVAC filter loads after drywall. Drywall dust is fine and travels everywhere. It clogs filters and can strain a blower if not addressed in the first weeks. Replace filters more aggressively during and after construction.
Paint cure periods. Fresh paint cures over days to weeks, not hours. Avoid heavy washing or scrubbing for the first 30 days, and expect some minor sheen variation while it finishes.
Cabinet and fixture seals. Sinks, backsplashes, and counter edges all get sealed at install. These joints move and need checking at 90 days.
If you’re planning work rather than maintaining it, our General Contractor in Winchester page walks through how we sequence a project so these systems are set up right from the start.
How Winchester’s Desert Climate Changes the Schedule
National maintenance guides are written for mild, humid climates. Winchester doesn’t have one. The Mojave Desert’s heat cycles push thermal movement faster and harder, and that changes the schedule.
The core issue is daily and seasonal temperature swing. Mesquite, Summerlin-adjacent neighborhoods, and the older streets around downtown Winchester all see the same pattern: daytime heat expands caulk, wood trim, and flooring, and cool nights contract them. Repeated over months, that movement cracks sealant faster than in a climate with steady temperatures. Where a national guide says “caulk annually,” Winchester homeowners should inspect caulk at 90 days and then every six months, paying attention to exterior-facing joints and any south- or west-facing wall that takes the most afternoon sun.
Wood trim behaves the same way. Interior trim on a sun-exposed wall in Winchester will show paint cracks and gap movement sooner. HVAC systems also run harder and longer here, so filters load faster – plan on more frequent replacement than a moderate-climate guide would suggest, especially in the first months after drywall work.
The takeaway: compress the national schedule. Where a generic guide says check yearly, checkout every six months in Winchester, and never skip the 90-day break-in inspection. The climate rewards diligence and punishes delay.
What Voids a Workmanship Guarantee (and How to Protect Yours)
A workmanship guarantee is only as good as the definition of what’s covered. The cleanest way to understand it is this: the company stands behind the quality of the work, and the homeowner owns routine maintenance. Where one ends and the other begins is written down – and that’s the part homeowners should read carefully.
Under the 365-Day Done Right Promise, completed Bradford Remodeling work carries a full-year written guarantee: if the work itself fails inside that window, we return and correct it at no charge. A guarantee like that defines the homeowner’s side too. It typically expects the owner to perform and document routine maintenance – the caulk checks, grout inspections, and filter replacements on this schedule. Neglected maintenance that causes damage falls outside workmanship coverage.
The systems we generally advise treating as homeowner-maintenance items:
- Caulk and grout re-sealing after the initial install checks.
- HVAC filter replacement and routine HVAC service.
- Cosmetic touch-ups and paint scuffs from daily use.
- Keeping documented inspection records.
The protection is simple: do the inspections, write them down, and hold onto any photos or receipts. That record is what lets a company stand behind its work without argument. If you’re unsure how your guarantee reads, ask before work begins – a written guarantee should be in your hand, not in a file you can’t see.
Your Two-Page Maintenance Log Template
You don’t need software. A simple two-page log does the job and creates the paper trail a guarantee dispute needs. Here’s a format built for a remodeled home.
Page one: the system list. Down the left, list every remodeled system – shower caulk, tub surround, backsplash, sink rims, flooring perimeter gaps, exterior door seals, window seals, HVAC filters, cabinet hardware. Down the top, make columns for the 90-day, 6-month, and 12-month checks, plus space for notes.
Page two: the seasonal log. A running table with four columns: Date, System inspected, Condition found (pass / repair needed), and Action taken. Add one line every time you do a check, whether or not something needs fixing. A “pass” entry is just as valuable as a repair entry – it proves you were maintaining.
Two habits make the log work:
- Date every entry. Undated notes don’t protect you in a dispute.
- Photograph anything you fix. A dated photo of a re-caulked joint before and after is the strongest evidence you can keep.
Keep the log somewhere you’ll actually find it – a binder in the kitchen or a phone note with photos. Ten minutes a check is all it takes.
Common Mistakes to Avoid
- Skipping the 90-day inspection because nothing looks wrong. The whole point of the first check is to catch movement before it’s visible from the doorway. Waiting for a problem means you’ve already paid for it.
- Recaulking over a failed joint without cleaning it. New caulk won’t bond to old or wet sealant. The joint fails again within weeks, and you’ve just buried the real problem.
- Treating a national seasonal guide as gospel in Winchester. Mild-climate advice assumes slow temperature swings. Here, the sun moves caulk and trim faster, so the schedule needs to be tighter, not looser.
- Ignoring the HVAC filter after drywall work. Drywall dust travels through the whole system. A clogged filter in the first month strains the blower and costs more to fix than a filter.
- Waiting past 12 months to address hairline drywall cracks. A crack that widens over months can signal a settling issue worth investigating, not just a patch-and-paint job.
- Not keeping inspection records. When a guarantee question comes up, the homeowner with a dated log and photos gets a covered repair; the one without a record often doesn’t.
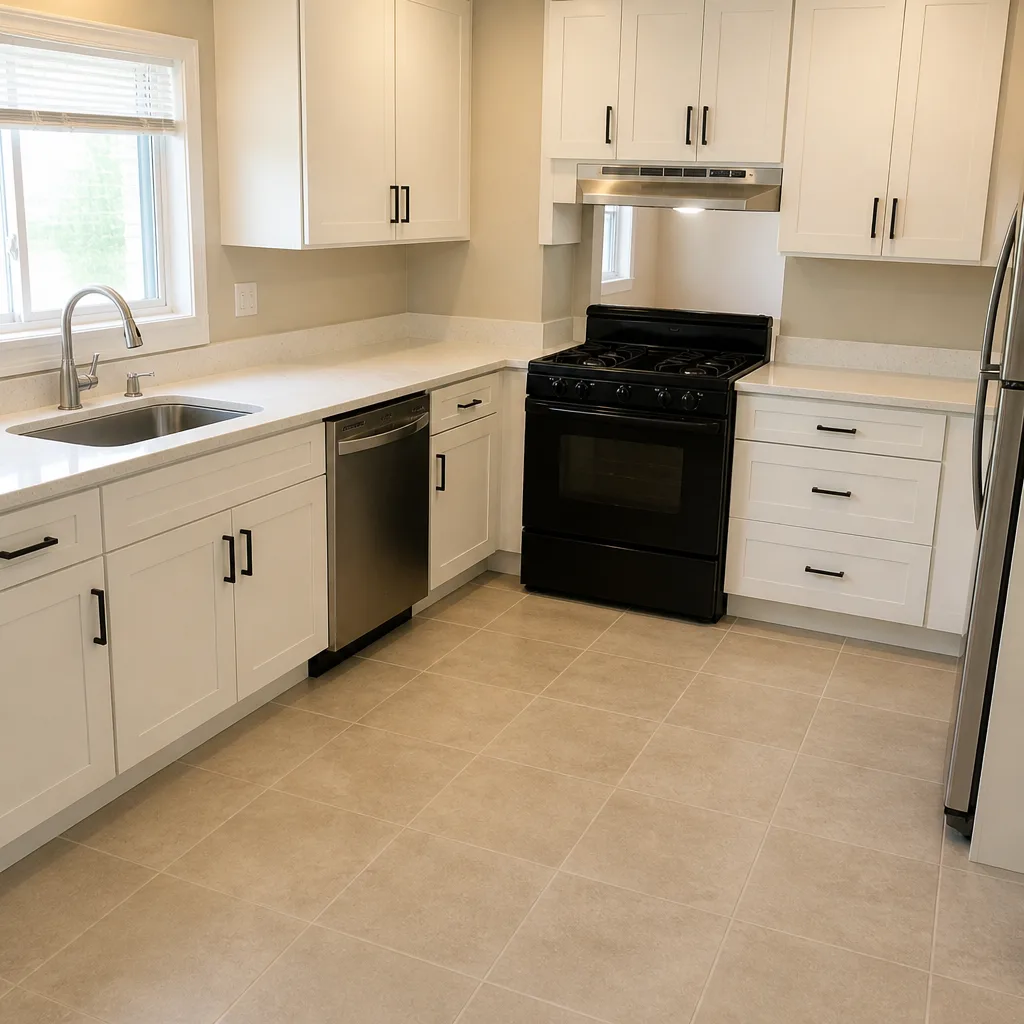
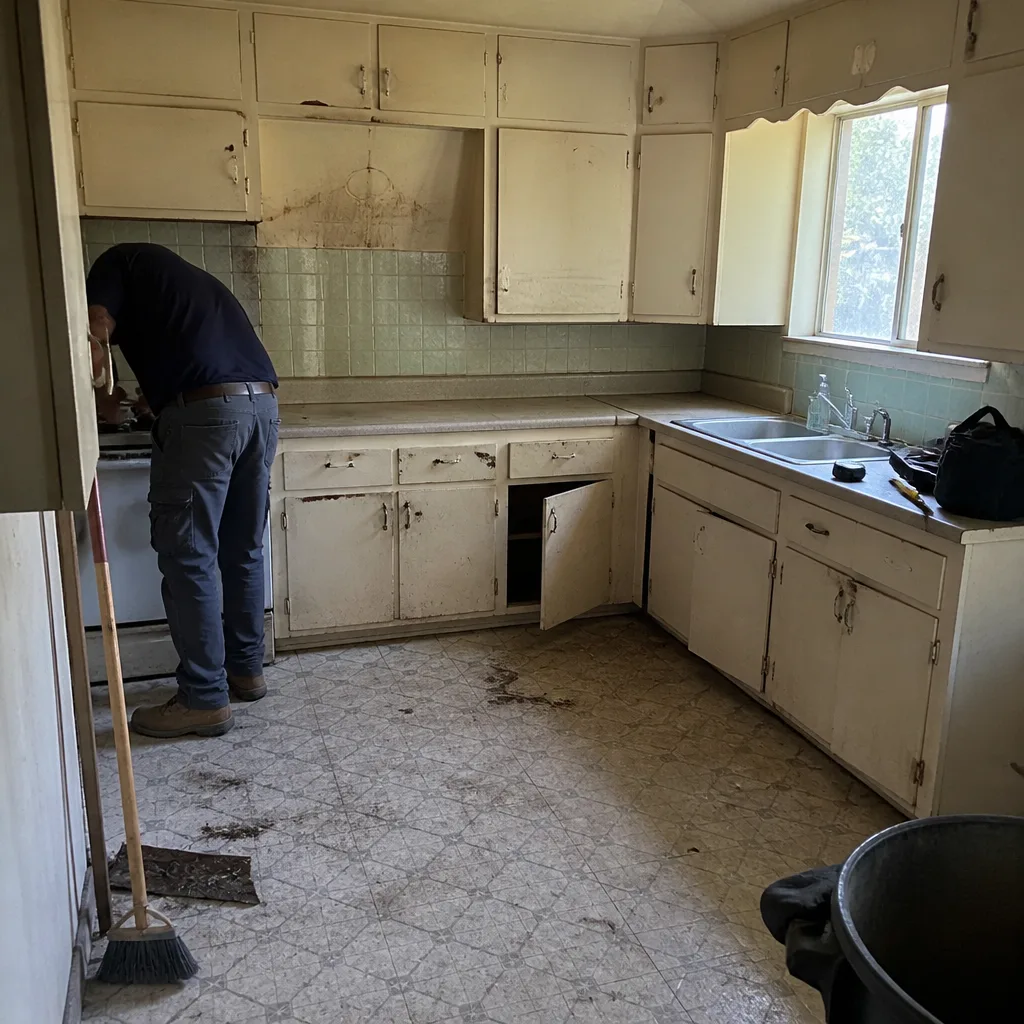
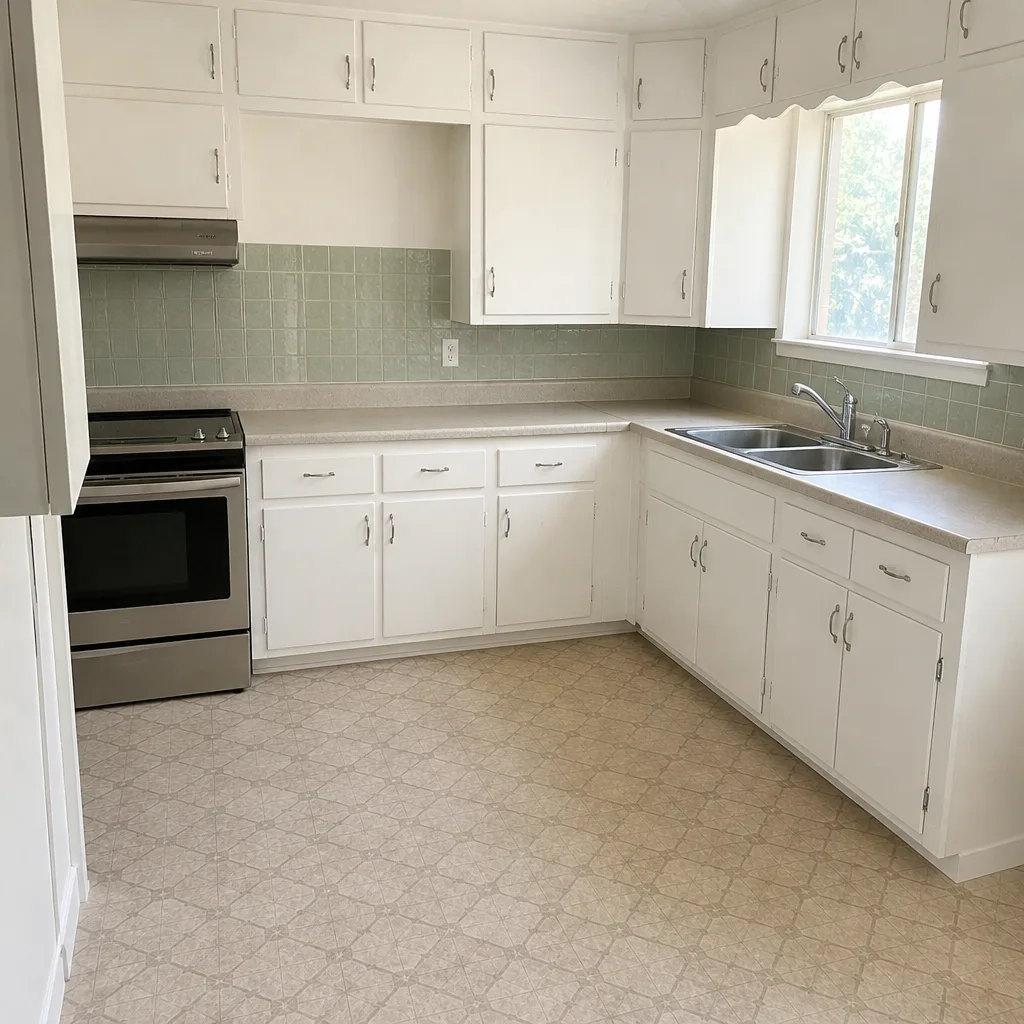
See the difference
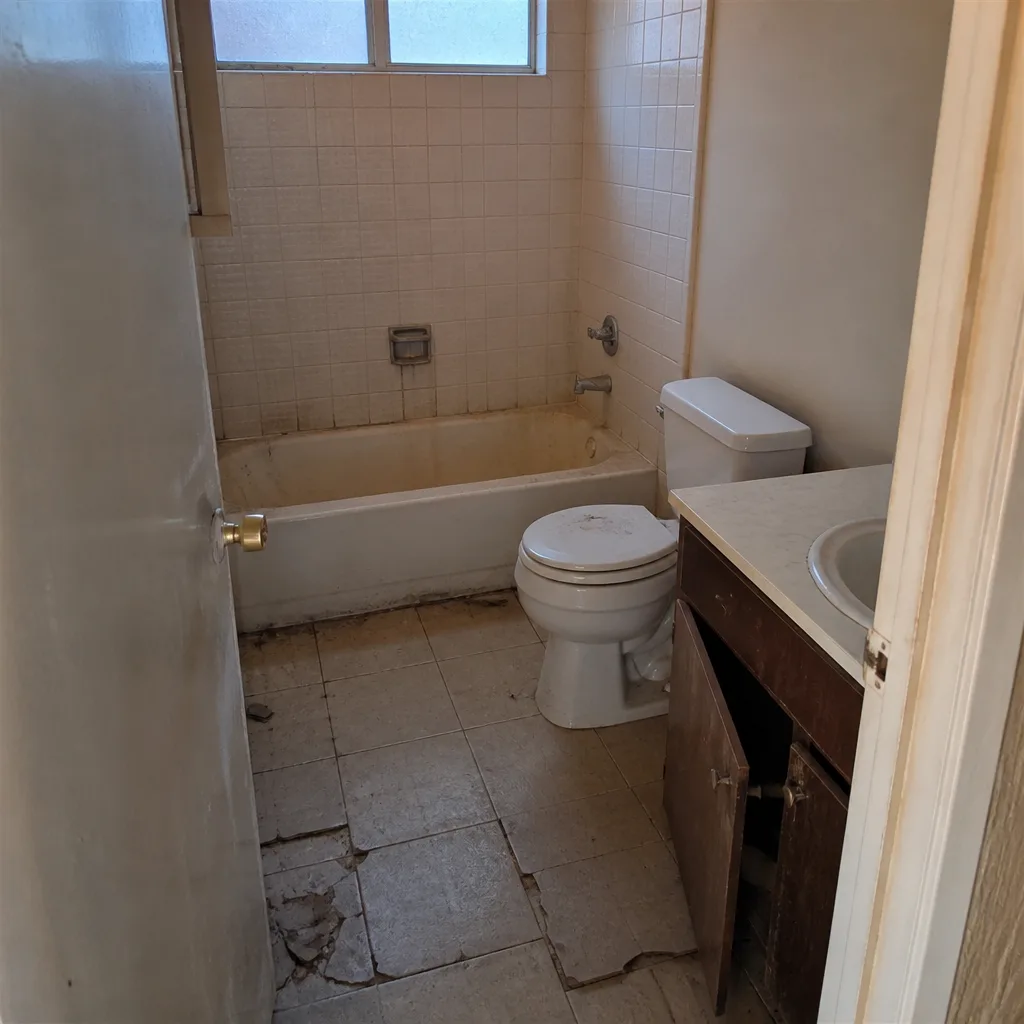 Before
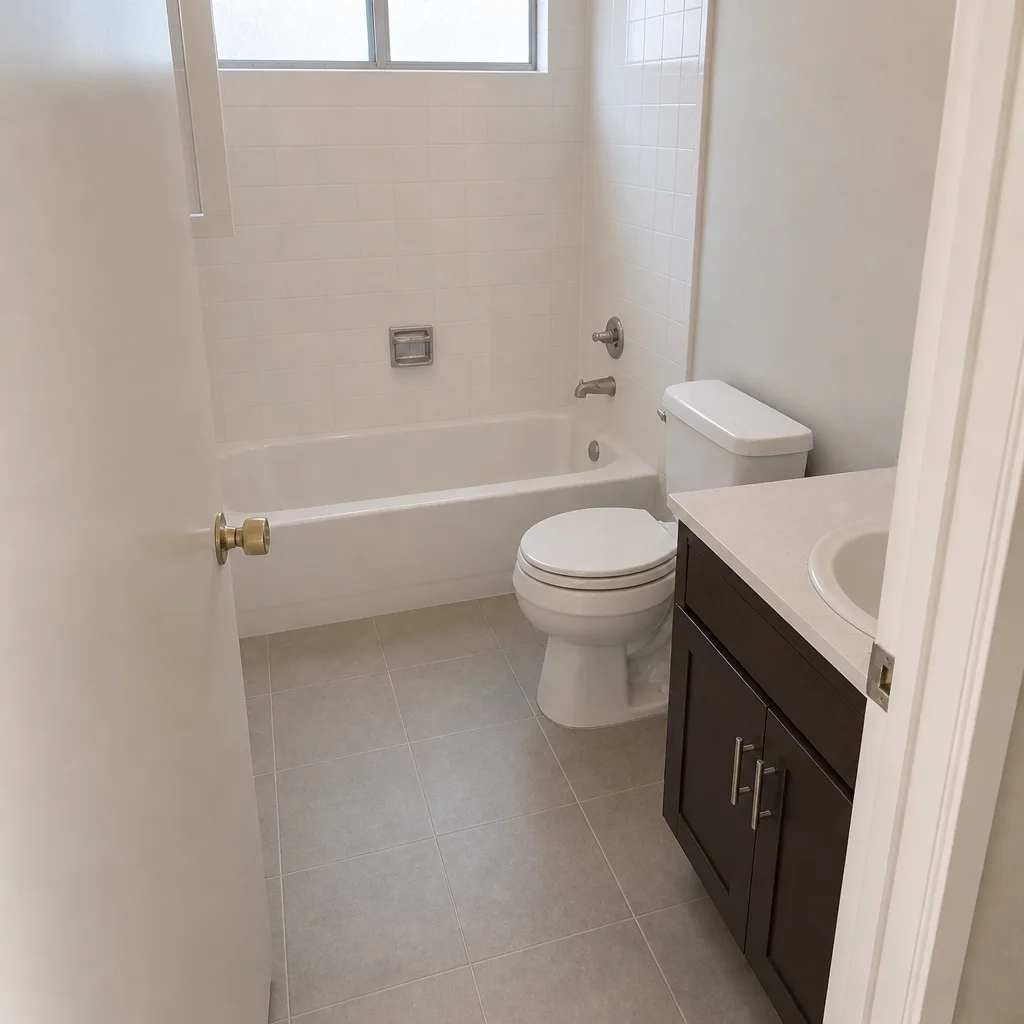 After
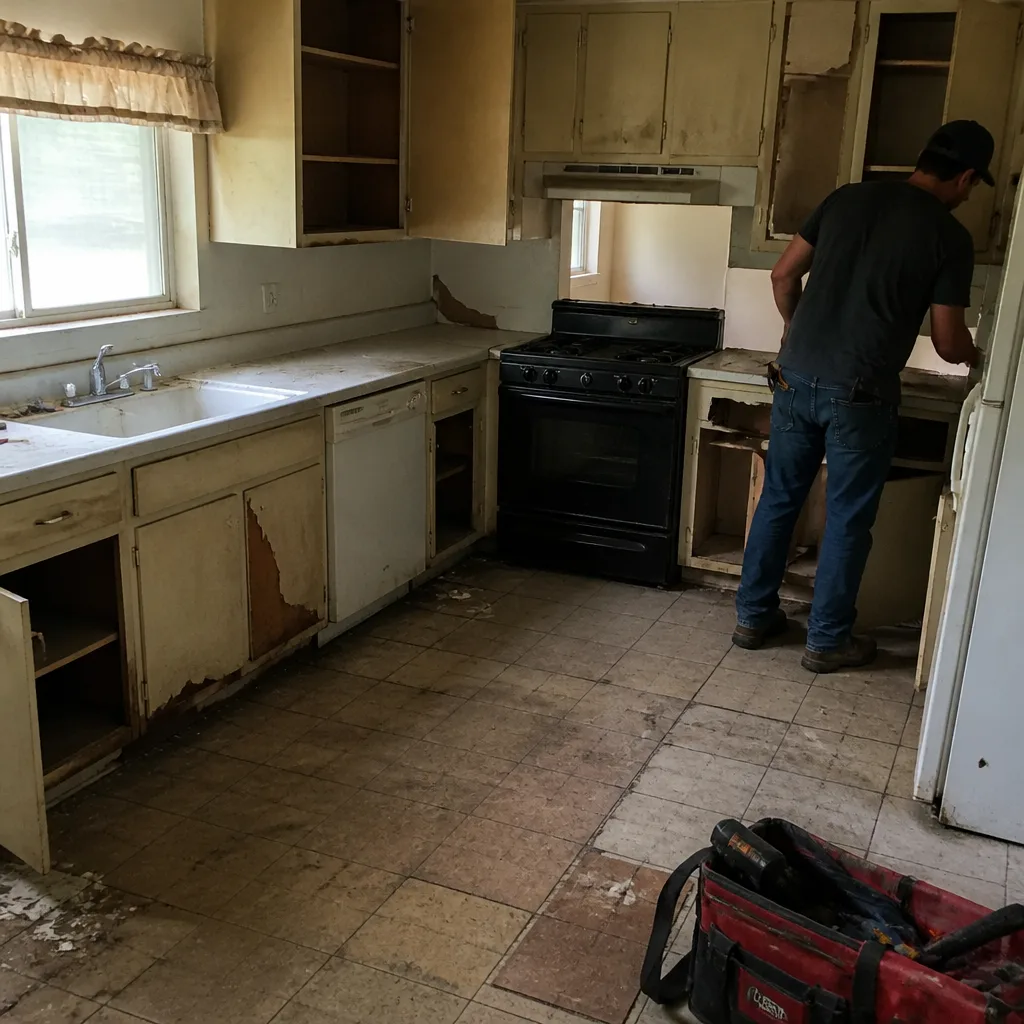 Before
 After
 Before
 After
When to Call a Professional
Some maintenance you handle yourself. Some you shouldn’t. Call a professional if grout in a shower stays dark after cleaning (moisture is getting behind it), if a drywall crack widens over a month, if flooring buckles near a doorway, or if you smell anything musty under a new sink. A caulk joint that keeps failing despite re-sealing means water is coming from somewhere behind it, and that’s a job for a trained eye.
For scheduled inspections, larger corrections, or a fresh look at a project, Bradford Remodeling Co Winchester offers free estimates in Winchester – call (844) 972-4839. Every price is written before work starts, and all completed work carries the 365-Day Done Right Promise. If you’re planning the next room, we start with the Kitchen Remodeling in Winchester and Bathroom Remodeling in Winchester pages so you can see how we sequence the systems this guide covers.
Frequently Asked Questions

Do the first full inspection at 90 days. That timing catches initial settling – fresh caulk movement, grout cracks, flooring gaps – while everything is still cheap to correct, well before the 12-month break-in period ends.
Neglected maintenance that causes damage generally falls outside workmanship coverage. A written guarantee like the 365-Day Done Right Promise covers the work itself; routine caulk, grout, and filter upkeep is the homeowner’s side. Documented maintenance is what protects your coverage in a dispute. Call (844) 972-4839 for a free estimate if you’re unsure how your guarantee reads.
At 90 days after a remodel, then every six months. Winchester’s daily heat swings expand and contract sealant faster than mild climates, so the national “check annually” advice is too loose here. Watch sun-exposed walls most closely.
Two reasons: drywall dust from construction loads the filter fast, and Winchester’s heat means the system runs harder and longer. Expect more frequent filter changes during and after a project, especially in the first weeks.
Dates, the system inspected, the condition found, and the action taken – plus dated photos of anything repaired. That record is what supports a guarantee question and helps you spot a joint that keeps failing.
Yes. Bradford Remodeling Co Winchester offers free estimates in Winchester, with a written price before any work starts. Call (844) 972-4839 to schedule yours.
The Bottom Line
A maintenance schedule is the part of a remodel that keeps the remodel working. The 90-day break-in inspection is the single most valuable checkpoint, then the 6- and 12-month passes, then a seasonal rhythm after year one. Split remodeled and legacy systems onto separate clocks. Tighter timelines for Winchester’s desert heat. Document everything in a two-page log, because that record is what protects a written guarantee. Handle the small stuff on time and the big stuff never happens. See Bradford Remodeling Co Winchester home for how we run projects from the first written price to the final walkthrough.
Ready to plan the next project or get a professional look at a remodeling job? Call (844) 972-4839 for a free estimate. A live person answers, every price is written before work begins, and every completed job is backed by the 365-Day Done Right Promise.
Written by the team at Bradford Remodeling Co Winchester.